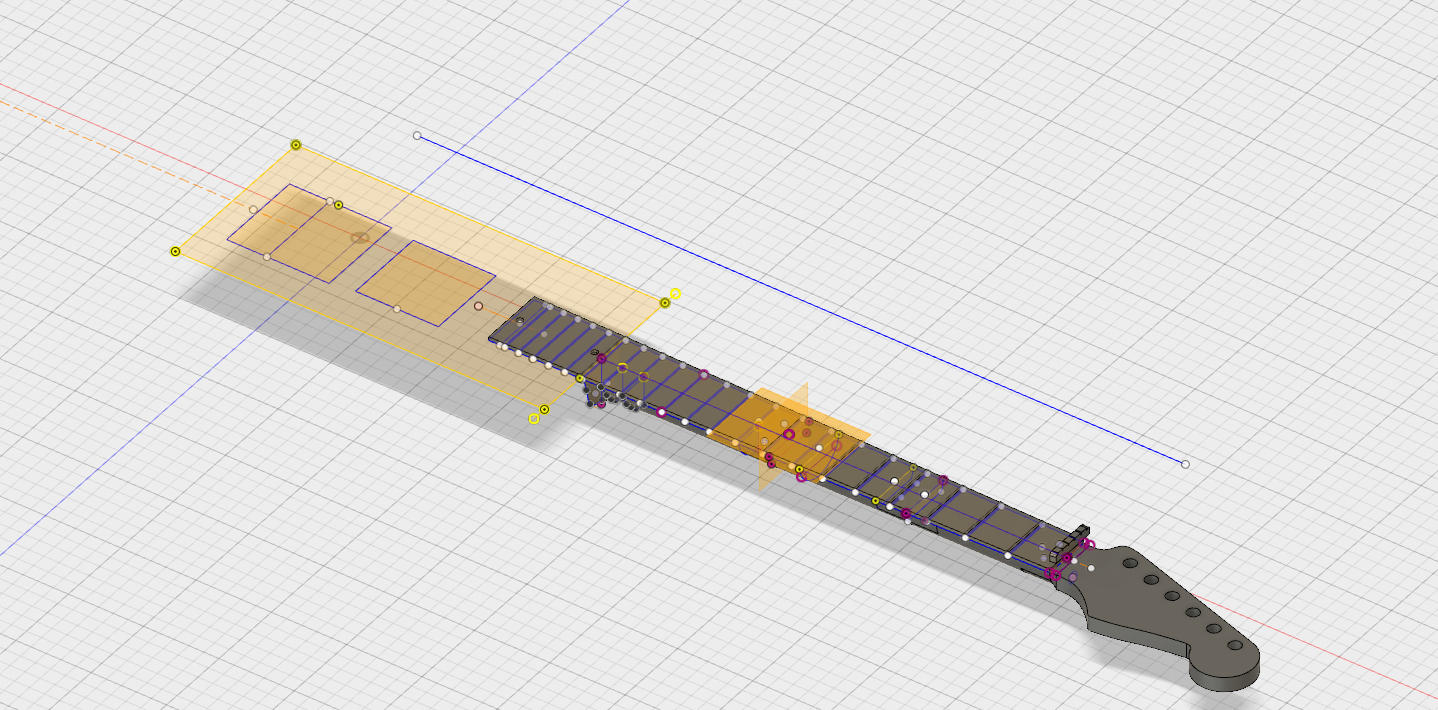
My project during lockdown these many months has been to build myself my own guitar. It has taken much longer than I thought, and I am yet to finish (some frets are still buzzing so the neck needs more tweaking.) The fun part has been adding some custom flourishes. With the help of FormIt, Dynamo, and my trusty Makerbot I was able to create a pretty funky pick guard. Along with the orange paint job, it is really taking on a Halloween-like feel. Just in time!
Pegs and Jokers
My mother mentioned wanting her own Pegs and Jokers board game. Having never played (or even heard of) this game, I did some digging and found this existing pattern. I modified it by adding a profile of the Adirondack Mountains (where my parents live.) I laser cut these on maple and stained each of the three sets a slightly different shade. Turns out to be a pretty fun game!

Merry Maker Christmas!
As a gift, my 11 yr old designed and 3d printed me a hanging charger for my watch 😎 @tinkercad #3Dprinting #MakerGirls pic.twitter.com/ESkWEAqzKQ
— Tom Vollaro (@TomVollaro) December 26, 2018
Harry Potter Wand Holder
Anna I were looking for a good starter project to try out on the new laser cutter at the public library. I found this wand holder on Thingiverse, but I wanted a wood base instead of plastic. I isolated the griffins using FormIt and 3D printed them along with the crest in gold filament. We then used the laser cutter to ensure everyone knows who owns this wand! Final remix on Thingiverse.

“Cracked Back” Generative iPhone Case
I wanted to create a unique, customizable and flexible case for my brand new iPhone 8. I used Dynamo, the open-source visual programming system from Autodesk and its experimental system for creating generative designs: Project Fractal. The result is this cool Voronoi pattern that simulates the nightmare of every iPhone user: a cracked screen. If you want to play around with the design and download your own STL, see the “customizer” here. I used SainSmart TPU – which has a nice balance of flexibility and strength. The next step is to add some more sizes and experiment with how to smooth out the rough edges on the final print.
Otto connected to mBlock
We finally got our little Otto bot connected to mBlock so that Anna can program him using the Scratch interface. This could not have been done without the StemBot extension for mBlock!
Chartres-inspired Labyrinth Earrings
For Anna’s birthday I designed and 3D printed earrings inspired by the labyrinth at the Chartres Cathedral.

WIP: Family Tree Necklace
I am working on a new necklace for my mother’s birthday. This one will feature a family tree design with a leaf with the first initial of each child and grandchild. I hope to print this in silver or white gold at iMaterialize.
Emergency Repair on the Replicator!
While performing a recent upgrade to add a heated build plate to my trusty Replicator 2 I made an (almost) fatal mistake: I put the new 9amp power supply plug in upside down! Needless to say, the sound and smell that came out of the printer was excruciating. While this was a dope-slap moment on my part – I partly blame MakerBot for not properly keying their power supply plugs. I thought all was lost. Luckily, my retired electrical engineer of a father is much better with these types of issues. He talked me down and proceeded to prod the motherboard with his multi-meter. Since MakerBot closed-source their MightyBoard design a few years back there is no public schematic for this board. Never fear! My father was able to diagnose the problem and hack a solution. First, we were somewhat lucky in that the burned components were mostly on the BotStep daughter boards – which are cheap to replace. However, we were unable to get the 5V circuit to come back – so dad hacked up a separate power supply. Now my MakerBot has two plugs! Now I am struggling with getting the print head to home properly, but that is for a future post… here is a shot of the hacked board:
Design fail or iteration?
I have been working since last summer on a cigar box electric guitar, similar to this one on Instructables, but a Telecaster version. I successfully designed, printed, and assembled a three part neck with a truss rod hole. I finally just got around to assembling the electronics and cigar box body last weekend. Everything looked beautiful until I strung the first string… <head slap!> I must have mis-measured the bridge location, so the string hangs off the edge by about 1mm. I cannot simply move the bridge because I had already cut the hole for the pickup! Although I am disappointed, I am chalking this up to iteration in the design process. I have now decided to go all-in and 3D print the entire body! I was not happy with how the neck was secured to the box. So, back to the drawing board:


